
The Basics - Getting Started
The Basics - Getting Started
Basic Capture Techniques for DV
By Gretta Wing Miller
Page Two
Final Cut Pro will call for reels to be inserted in the deck, and it will find and capture the clips you have selected based on their timecode In and Out points.
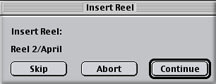
All you have to do is feed tapes as Final Cut Pro calls for them. This is the time when your naming scheme for tape reels will be called to account. FCP will assume you have inserted the right reel, and will capture the associated timecode range. If it is the wrong reel, it won't be the right shot.
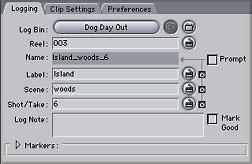
If you want to quickly separate a reel into individual clips: uncheck the 'Prompt' box, enter a name in the 'Label' field, start the tape playing and enter a first 'In' point.
Speed Logging
Every time you hit 'F2' (at the end of each clip), a new clip will be created in the logging bin, with incremented numbers attached to the original name. The tape will not stop rolling, and you will not be given a dialog box to write log notes, or rename the clips.
Method 2: Capture A Whole Tape, then Make Subclips
Best for Interviews and Chronological Documentary Situations
Put your first tape in deck/camera.
Open Log & Capture under the File menu.
Enter the Reel name on the Logging tab.
Click on the Clip Settings tab to define what you want to capture.
Click on the Scratch disk tab to make sure these are correct.
Now, back to the Logging tab. Start the reel playing, and click on the 'Capture Now' button.
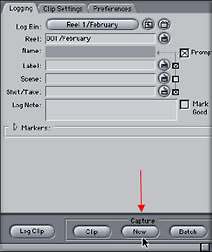
Let the entire interview, or the entire reel, if you have HD space, be captured. I advise watching it and making notes. You can't screen your footage too much. The more you watch it, the better you know what you have to work with.
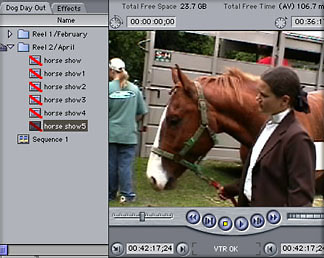
Press 'Esc.' before the end of the tape, so that it doesn't run past the end of the time code. Click on and drag this 'Untitled' clip into your Browser.
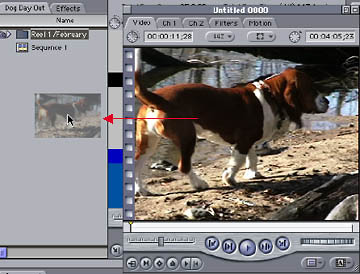
In the Save dialog box that opens, navigate to the Capture Scratch folder that you designated in your Preferences. You will know you have found it when you see a greyed out 'Untitled 0000' in the folder.

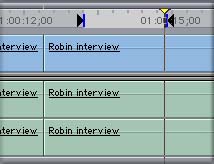
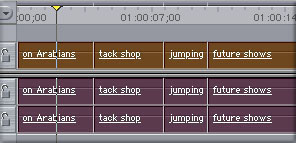
Now you can play and cut this one big clip into smaller, discrete pieces. Cut an interview into coherent sound bites, cut out the interviewer's questions, cut out the shaky camera and swish pans, etc. Use ripple delete to remove chunks, or the razor blade to cut between sections.
Put edit points around the section you want to remove, or select an entire clip. Then hold down Shift as you press Delete. The selection will be deleted and the space closed up. SAVE

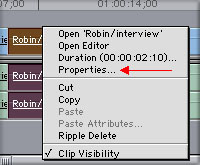
Option-click on one of them and select 'Properties' from the pop-up menu that appears. (Or choose 'Item Properties' from the Edit menu.)
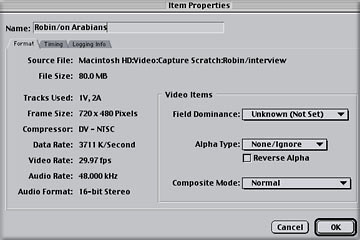
Change the name of each new clip to something relevant and descriptive.
Next, select all the clips in the Timeline (Edit>Select All or cmd-A with the Timeline active).
Now you can drag all of the clips into the Browser (or to a specific bin in the Browser), and they will appear as separate clips. At this point, they all refer to the one master clip on the scratch disk.

If you need to conserve disk space, go to File>Save Project, then quit FCP, open the Scratch Disk, drag that clip to the Trash. (Please be conservative when working with video; quit FCP before you do anything at the Finder level.)
When you open FCP again, all the individual clips will be offline, and you can selectively Batch Capture (see above) just the clips that you want.
I hope these techniques will provide a swift and happy start to your successful Final Cut Pro projects.
Best, Gret
copyright © Gretta Wing Miller 2001
Gretta Wing Miller
www.downtowndailies.com
Digital Video for NonProfits and Independent Artists
All screen captures, images, and textual references are the property and trademark of their creators/owners/publishers.