February 1, 2010
By Ken Stone
You have just purchased a brand new hard drive for your Mac. It could be an internal drive but most likely it is an external hard drive that has Firewire 400, Firewire 800, USB 2 or eSATA ports on the back for connectivity to your Mac. When you purchased the drive, the sales person told you that it was Mac compatible, just plug it in and go to work.
You can plug this new drive into your Mac and 'go to work', but this does not mean that the drive is setup in the best manner for the Mac. It could be formatted as 'FAT 32', a format that will run on both Macs and PCs, but does have limitations. Considering that you'll be using this drive for years and that you may be using it to store valuable information, I would suggest that you spend a few minutes to reformat and test the drive using the Mac Disk Utility to be sure that you get off to the best start.
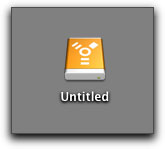
For this article I am going to work with an old LaCie external Firewire drive that I have wiped clean. When I plug it into my Mac, the hard drive icon mounts on the desktop. In this case it is named 'Untitled', but could have any name.
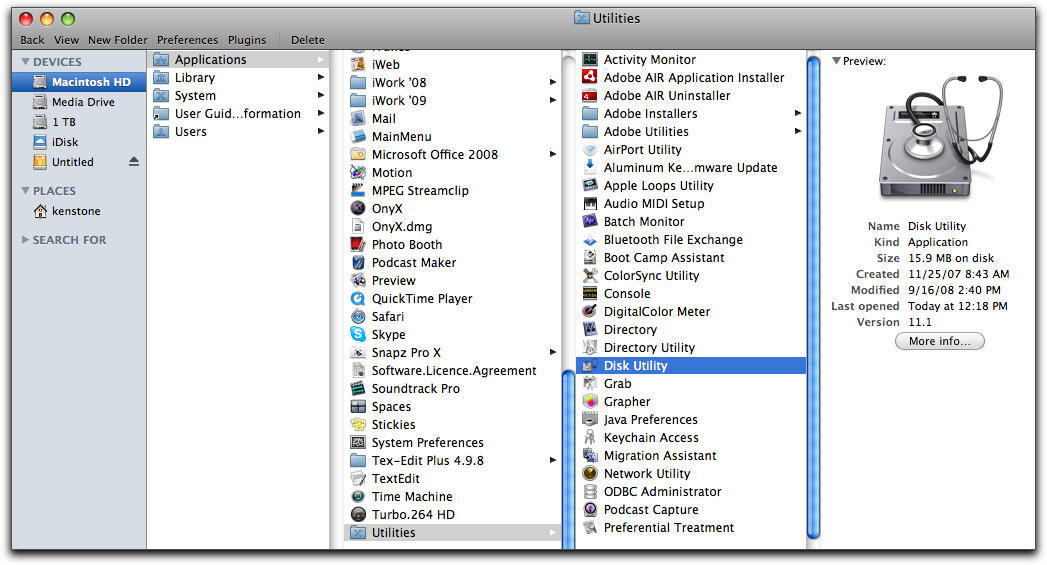
We want to the launch the Disk Utility application which is found in the Utilities folder inside the Applications folder on your Macintosh Hard Drive.
I use Disk Utility on a regular basis, so I have dragged the Disk Utility icon from the Utilities folder down to the Dock, for quick access.
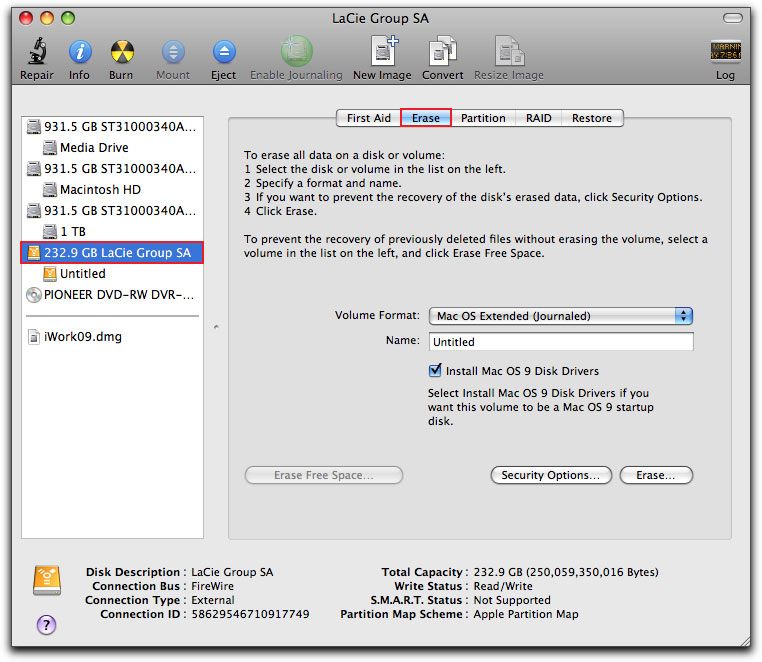
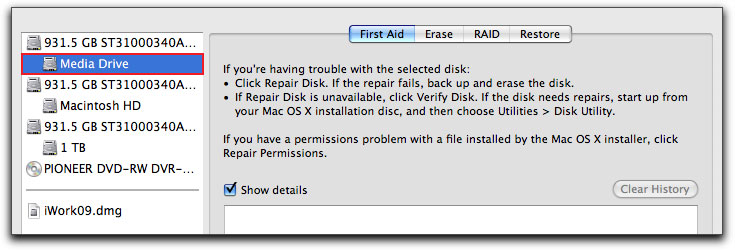
When Disk Utility opens it will ask you to 'Select a disk, volume or image'. These items are listed in the left column of Disk Utility, as shown below. All installed (connected) Hard Drives, CD and DVD drives, Partitions, or any Disk Images' that you have on your Mac will be displayed in this column.
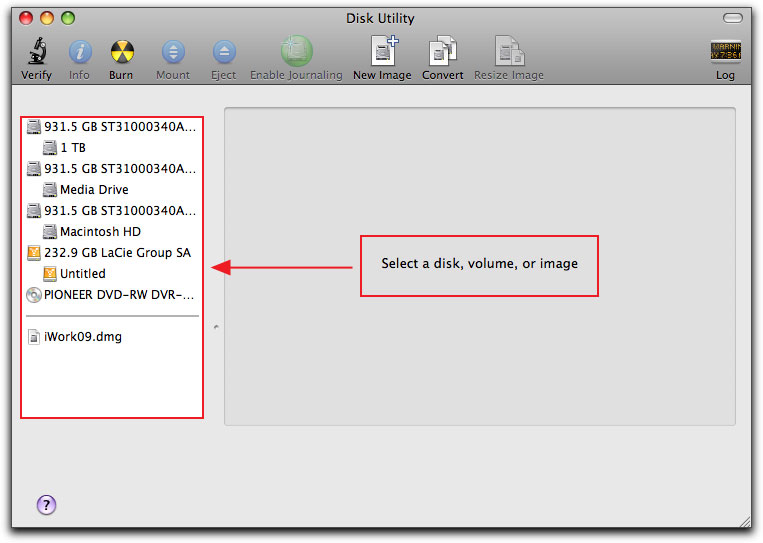
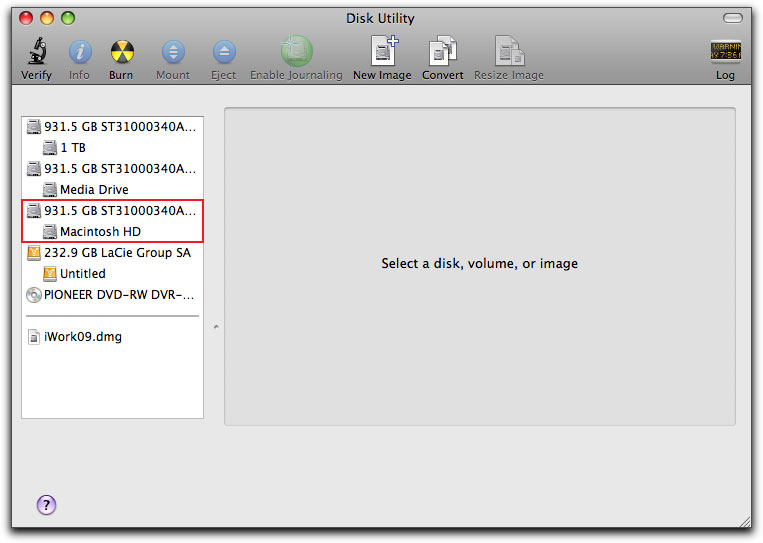
Looking at the list of items you'll notice that each drive is listed twice, with two different names. The first or top name, is the name of the hardware, the physical hard drive itself. This name includes the formatted size of the drive and the name or abbreviated name of the manufacture. The second name is the name of the 'Volume'.
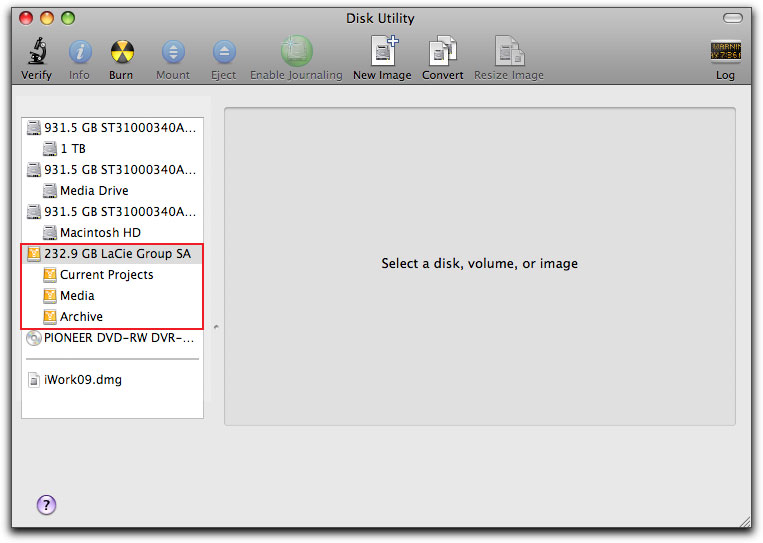
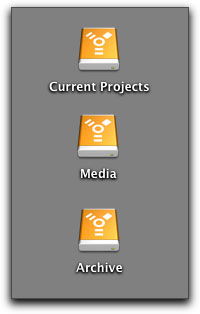
Using Disk Utility, we can 'partition' or divide up the space on the hard drive into smaller, independent sections called 'volumes'. Partitioning a drive, creating additional volumes, is most often done for organizational purposes. You could divide a one terabyte drive into three volumes or partitions. The first volume might be 'Current Projects', the second, 'Media' and the third, 'Archives'. If we have more than one volume on a hard drive, each volume will show on the desk top as a discrete or distinct drive. A hard drive with three volumes will show on the desk top as three separate drives. Volumes are 'virtual drives'. If the drive is to be used as a media drive for video editing, then for the best speed performance, avoid using partitions.
I have a 'Partitioning a Hard Drive' article for you, if you want to read up on partitioning, but the reason for this article is to address the common confusions and questions when people use Disk Utility for the first time. For example, seeing a drive listed in the left hand column with 2 or more names, can be confusing. The reason that Disk Utility shows drives and volumes in this way is because Disk Utility has a number of different tools, First Aid, Erase, Partition, RAID, Restore, Repair Permissions, Verify and Repair Disk, Mount, Eject, etc. Some of the Disk Utility tools are applied to the Hard Drive itself, like Partition. Other tools are applied to Volumes, like First Aid or Erase. With some of the Disk Utility tools it does not matter which you select, the physical hard drive or the volume. If you select either the physical hard drive or the volume and the tool you want to use is grayed out and not available, then simply select the other name in the left hand column.
Okay, back to formatting. In this case, as there is only one volume on the drive, you can select either the physical hard drive name or the volume name. In order to reformat a hard drive we must use the 'Erase' tool, this will wipe the hard drive clean and give us the chance to name the drive and select the format. As shown below, I have selected the physical hard drive name and also clicked on the Erase tab.
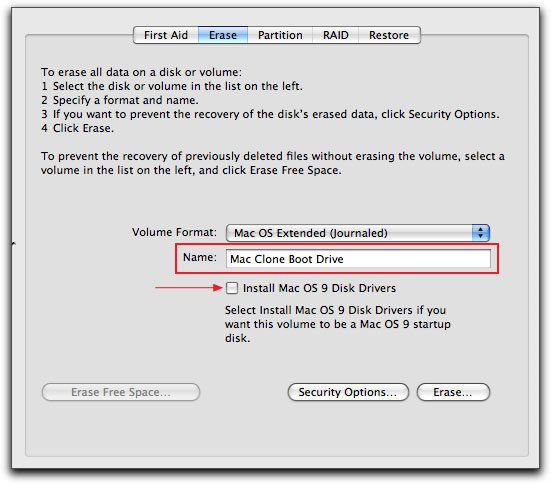
In the Erase tab window, the first thing that we need to set will be the new format. Clicking on the 'Volume Format' drop-down menu reveals several choices. It's the top two formats that we are interested in; Mac OS Extended (Journaled) and Mac OS Extended. The format that we chose, 'to Journal or not to Journal' depends on what the drive will be used for. If you are going to use the drive as a system or 'boot' drive, with the Mac OS on it, then you would want to select 'Mac OS Extended (Journaled)'. If you will be using the drive as a media or 'scratch' drive, for video editing, then you would select Mac OS Extended, journaled not selected, as the journaling process slows down the write speed performance of the drive.
Journaling was developed primarily for Mac servers to protect the integrity of the disk Directories and file systems. Journaling is a process whereby the Mac OS keeps an eye on what you are doing while you work, it keeps a journal, keeping track of changes you have made to your files . If your Mac should go down, due to, for example, a power outage, when you restart your Mac, the Mac OS will check the journal and will perform a consistency check on the drive's directories and file structure. It will also attempt to restore any unsaved documents that you were working on at the time of the power failure. A very nice feature and it actually worked for me once when I lost power, an unsaved text document was recreated.

In this case, I plan on using this drive as a 'bootable' system back-up drive, so I will select 'Mac OS Extended (Journaled). If you select one of these two formats and then later decided that you need to turn Journaling either on or off, you can easily do it using Disk Utility, more on this later. I have named the drive 'Mac Clone Boot Drive'. Just below the Name box is 'Install Mac OS 9 Disk Drives'. This option is left over from the days that the Mac OS migrated from OS 9 to OS X. Leave this box uncheck unless you have a specific need for it.
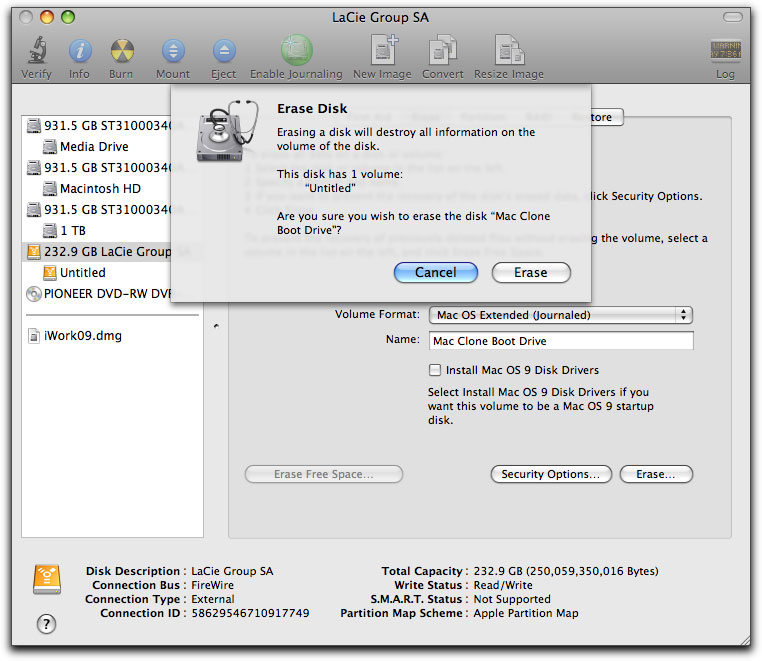
With your drive named and a format selected, click on the Erase button. When you do this you will be presented with a warning that tells you that if you erase the drive, all information on the drive will be lost. Click Erase again.
The Erase and Format process will take less than a minute. You will probably be asked if you want to use this drive for Time Machine. Unless you plan on using this drive for Time Machine, click Cancel. I have Time Machine turned off in my System Preferences, but this box continues to show up. It should probably have a 'do not show this window again' check box.

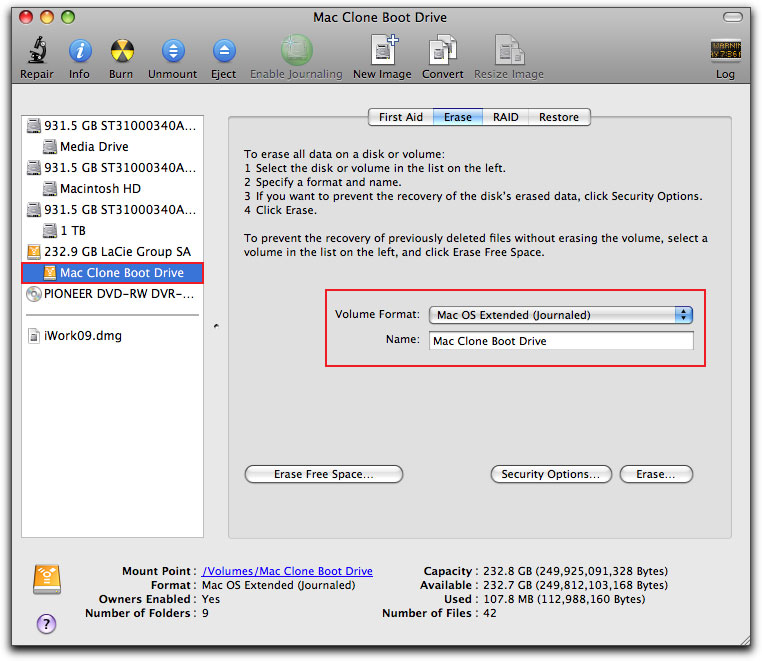
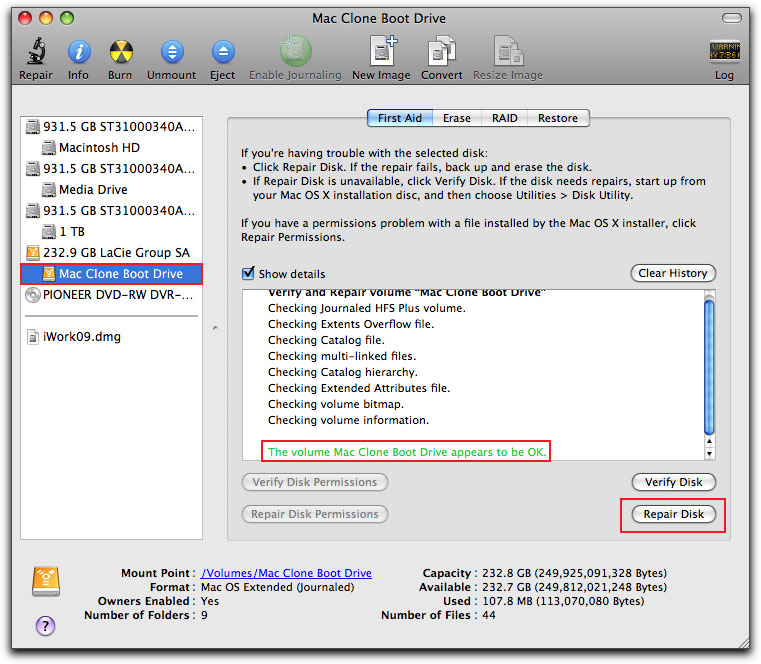
After you have Erased and Formatted the drive, it will show up in Disk Utility with its new volume name. If you select the volume in the left hand column, information about that volume will be displayed on the right. The newly named and formatted drive will appear on your desk top.
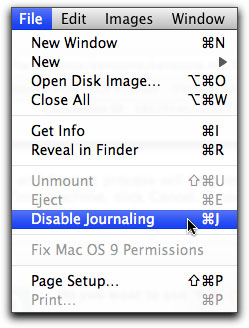
Changing a Journal setting is easy. If you have formatted your drive with no Journaling and decide that you want to enable Journaling, select the Volume in the left hand window of Disk Utility and from the File menu > Enable Journaling.

If you have formatted a drive as (Journaled) and want to turn journaling off, select the volume in the left hand window of Disk Utility and while holding down the 'Option' key, from the File menu > Disable Journaling. The 'Option' key toggles between Enable and Disable in the File menu.
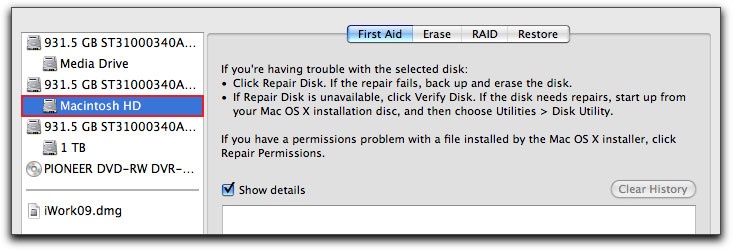
I would suggest one more quick chore before using your newly formatted drive. Select the drive or volume in Disk Utility and click on the 'Repair Disk' button. As the drive is empty, this process will only take a few seconds and I think that it's a good idea to check the integrity of your drive before pressing it into service.
Notes
- Journaling is essential for OS disks (boot drives), but for disks used for video media, used for editing purposes, Journaling is not advised, as it can affect the speed of data being written. For video media (scratch) drives you would want to select the Mac OS Extended, no journaling.
- Journaling only affects the speed of either writing to or modifying a file, it has no effect on the read speed of files. If you're writing a lot of data, for for a long period of time, like capturing video, the write speed of the data will slow down, as the Journaling record keeps updating it's self.
- If you plan on using the drive for storage, archive or data backup other than as a video media (scratch) drive, then there is a benefit to be had with journaling, just as long as data rate speed is not an issue.
- Many new drives come with CD disks that have formatting software and drivers on them. I would suggest that you use Disk Utility exclusively and not use the software that came with the drive.
- If you have bought a new barebones OEM drive to fit inside your Mac or to replace a drive in an existing enclosure, it will never have been formatted. Only the name of the physical hard drive will show up in the left hand column in Disk Utility, there will be no volume listed, as volumes are created during the formatting process.
- With the low cost and availability of external drives, we often use these drives to transport data from one Mac to another. While I'm sure that you have never done this, sometimes an external hard drive gets unplugged before being 'unmounted' from the desktop. If this happens, there is a chance that the directories on the drive could be damaged. Having Journaling enabled on these drives may provide some protection against data loss.
- Some audio applications, like Pro Tools, recommend turning Journaling on for audio media scratch disks.
- One excellent use for an external Firewire hard drive is to create a 'bootable' backup or clone of your system drive. If anything ever happens to your internal boot drive, you can start up from the external backup and continue to work, repair the internal boot drive, or even clone the external boot drive back to the internal drive, replacing the defective version with the clone. There are a number of applications that you can use to create backup drives of your system drive. SuperDuper, Carbon Copy Cloner and Time Machine, will all create backup drives for you. Before you create the backup drive, be sure that it is formatted as Mac OS Extended (Journaled).
Enjoy,
--ken
copyright © www.kenstone.net 2010
are either registered trademarks or trademarks of Apple. Other company and product names may be trademarks of their respective owners.
All screen captures, images, and textual references are the property and trademark of their creators/owners/publishers.