May 17, 2010
By Richard Taylor
The iPad looks to be another big hit device for Apple. Over one million sold so far in the USA alone. At some point you probably will be producing videos for this device. I'm going to show you how you can make Compressor settings and Droplets to encode video optimized for the iPad.
The iPad will play video up to 1280x720p resolution, 30 frames per second in H.264 and Motion JPEG (M-JPEG) with AAC-LC audio up to 160 Kbps, 48kHz. It will also play MPEG-4 video up to 640 by 480 pixels. In this tutorial I am going to use 1280x720 H.264 video.
The quickest and easiest way to encode HD video for the iPad is to use the H.264 for Apple TV setting in Compressor. This will produce a video that is playable on the iPad and looks great.
The downside to using this stock setting is the data rate is 5000 Kbps, which produces larger than necessary files sizes for great looking HD video on the storage limited iPad.
So I made some optimized Compressor settings and Droplets specifically for iPad HD video. If you are in a hurry, there is a link where you can download my customized Compressor Droplets at the end of this article. If you want to learn how I made them and how you can further customize them, read on.
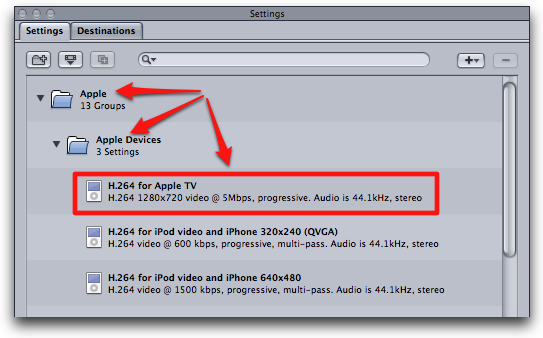
First, let's look at the default H.264 for Apple TV settings in Compressor's Settings window. As you can see below, the Bit Rate is, by default, set to 5000 Kbps (I'm going to use 3Mbps = 3000 Kbps). This is wasting valuable space on an iPad with its limited storage with no improvement in iPad display quality. I'm going to make an Apple Device setting for a Bit Rate of 3000 Kbps (3Mbps).
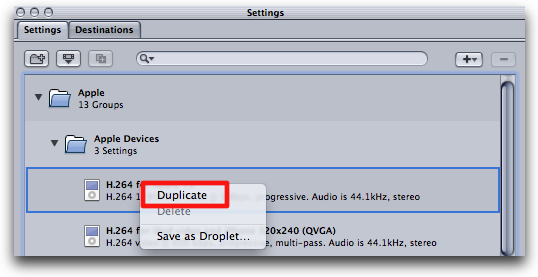
In Compressor's Settings window, open the Apple folder and then open the Apple Devices folder. Inside that folder you will see the H.264 for Apple TV setting. Select this setting and then click the Duplicate button.
Or right click on this setting and choose Duplicate from the drop down menu.
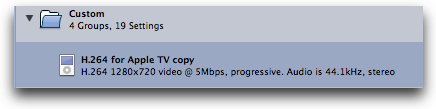
A new setting will appear in the Custom folder at the bottom of the Settings window named H.264 for Apple TV copy.
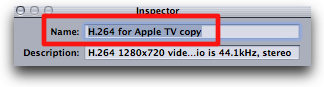
Double click on this setting to open the Inspector with the name field highlighted and ready for text input.
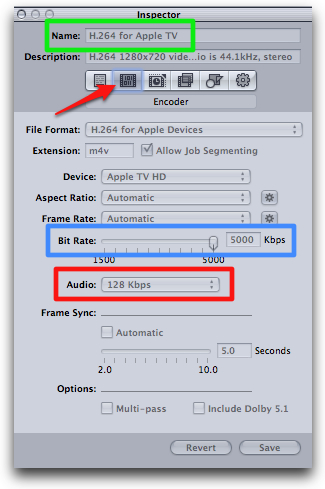
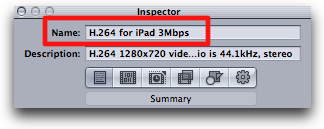
Name this new setting H.264 for iPad 3Mbps and then click Save.
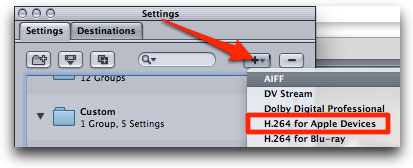
You could also use the H.264 for Apple Devices preset in the Settings window from the + drop down menu...
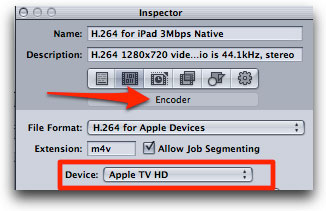
...and then choose Apple TV HD from the Device drop down menu of the Encoder tab.
Either way, change the Apple TV stock settings in the Encoder tab of the Inspector. Setting the Bit Rate to around 3025 Kbps (3Mbps) will cut the size of your encoded file to about 60% of the H.264 for Apple TV setting default size. And the video will still look great on your iPad. Make sure that Multi-pass is checked on for the best possible quality. For faster encoding, deselect this checkbox.
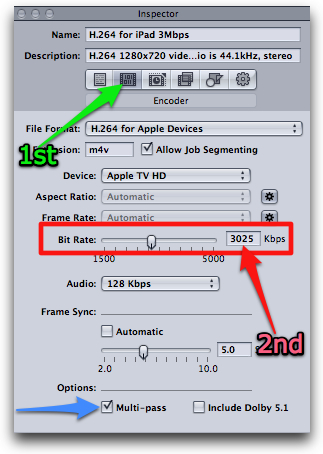
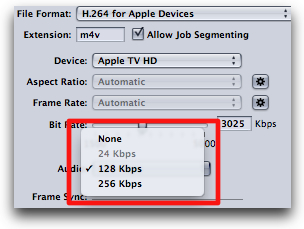
The only choice you have for iPad audio here is 128 Kbps, since the iPad specs say audio up to 160 Kbps.
If you are working with interlaced footage, you can manually set Compressor to convert it to progressive for the iPad by visiting the Frame Controls section of the Inspector. When I work with 1080i video, I usually engage these controls to convert it to progressive for the iPad. If your footage is progressive, you can leave these settings at their default value.
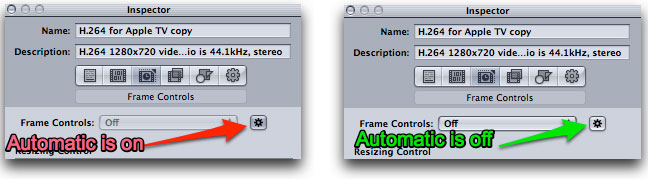
Select the Frame Controls tab and then click the gear icon next to the Frame Controls drop down menu to manually set these controls to Progressive. If you leave it in Automatic mode, Frame Controls technology will be engaged when transcoding from interlaced sources to H.264 for Apple Devices and outputs progressive files. I still prefer to set these manually.

Automatic is on when its button is dark and off when the button is light.
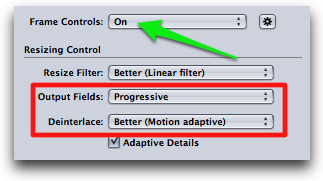
From the Frame Controls drop down menu, select On. From the Output Fields drop down menu choose Progressive and from the Deinterlace menu choose Better (Motion adaptive).
Then click Save at the bottom of the Inspector window.
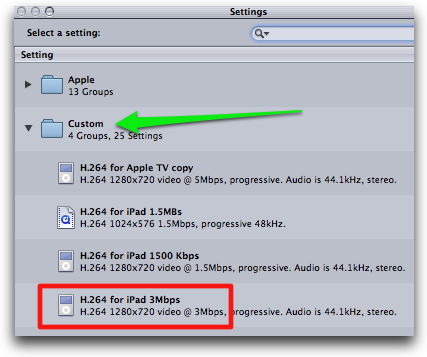
In Compressor, you can now select this H.264 for iPad 3Mbps setting in the Custom folder of the Settings window when encoding videos for an iPad.
If you use the Share menu of Final Cut Pro, you can access this new iPad Compressor setting by selecting Other... in the Output Type drop down menu...
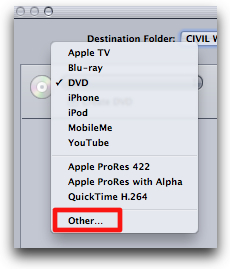
...and then open the Custom folder in the Settings window and select the H.264 for iPad 3Mbps setting.
The iPad's maximum display resolution is 1024-by-768-pixels so in order to play a 1280x720 video the iPad has to downscale it. In my tests, resizing from a frame size of 1280 to 1024 had little effect on the size of the file that was created. Both sizes looked great on the iPad. So I just use the default Apple TV Device 1280 frame size.
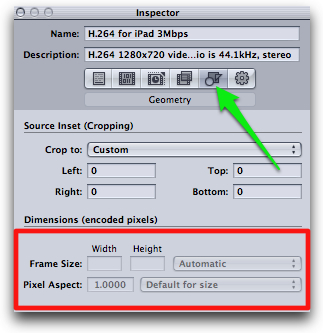
But if you want to resize the iPad video to 1024 to exactly fit the resolution of the iPad, you shouldn't start with an Apple Device preset. Apple Device presets don't allow a custom Frame size in the Geometry tab. Frame Size is grayed out and not selectable in the Geometry tab for any Apple Device setting preset.
In my tests using 3Mbps versus 5Mbps, you reduce the file size to around 60% of the default Apple TV setting (3Mbps divided by 5Mbps =.6 or 60%), with no loss in display quality on an iPad. Using a non Apple Device setting and reducing the frame size from 1280 to 1024 actually slightly increased the file size (red arrow below) in my sample.

The iPad will accept video using non-Apple Device Compressor Settings as long as the iPad specs are met. Your mileage may vary. I usually use a 3Mbps Bit Rate and 1280 frame size for HD videos I upload to sites such as YouTube anyway. You could use a lower Bit Rate, to a minimum of 1500 Kbps (1.5Mbps) with an Apple Device setting, for further file size reduction. You might try this if you have the 16GB iPad. I've included a 1.5Mbps Droplet in my download link.
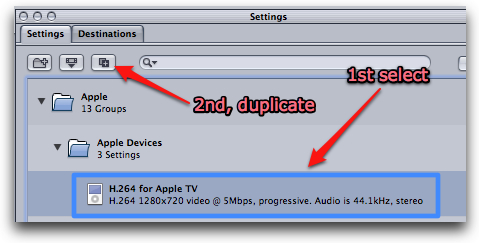
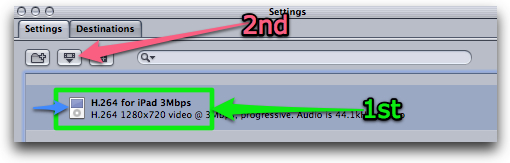
Next I made a Droplet of this setting. Notice the iPod icon which means this is a setting for an Apple Device. First, select the H.264 for iPad 3Mbps setting we made in Compressor's Settings window in the Custom folder. Second either select the Save Selection As Droplet icon...
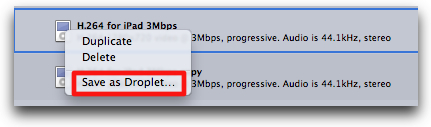
...or right click on the setting and choose Save as Droplet...
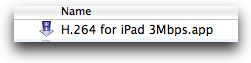
Save this droplet to a location of your choice.
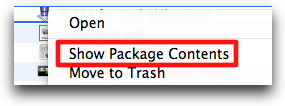
If you right click on this droplet and choose Show Package Contents from the drop down menu...
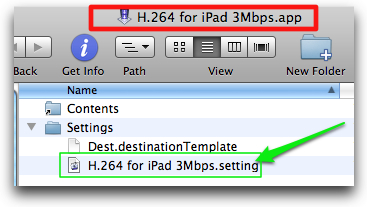
...you can access the actual Compressor setting in the Settings folder. If you want to modify or use this Droplet setting in Compressor, just drag this H.264 for iPad 3Mbps.setting file back to the Custom folder in Compressor's Settings window.
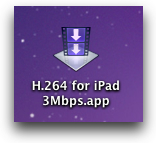
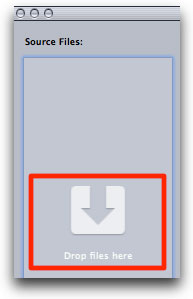
To use a droplet just drag your source file on top of it.
The Droplet application opens with your Source File, Settings and Destination. You do not need Compressor open as the Droplet application is stand alone. If you want to start compressing immediately without opening this Droplet window, uncheck "Show window on startup".
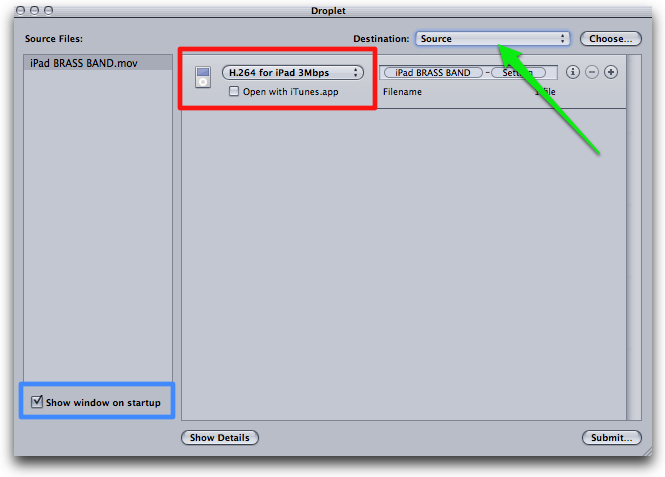
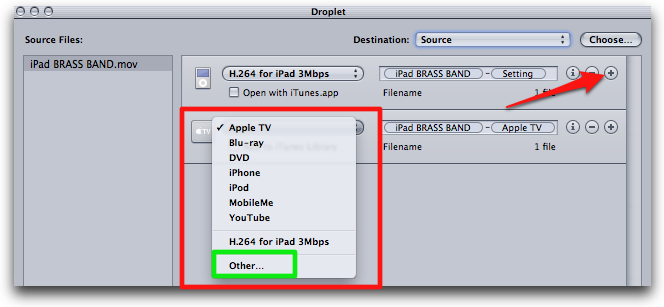
If you want to add additional Droplet Job Types, click the + button in the upper right and choose your setting from the 2nd Job Types drop down menu that appears. To access other Compressor settings, select Other...
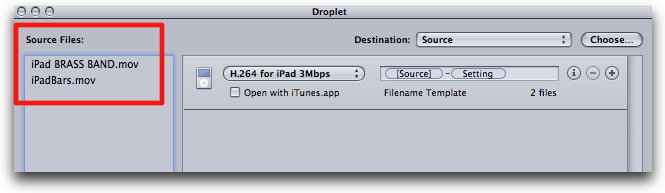
You can also double click the Droplet to launch the application and drag your video to the Source Files window manually.
You can add additional Source Files to be encoded by your chosen Job Type settings by dragging them to the Source Files window. Click Submit when finished to start encoding your video.
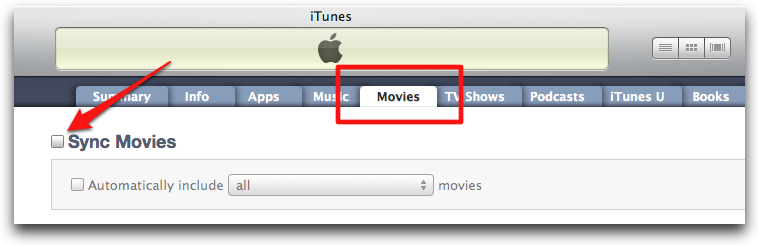
Use iTunes to add videos to or delete videos from your iPad. I manage my videos manually on my iPad via iTunes. If you want to do this as well, leave the Sync Movies checkbox unchecked in the Movies tab in iTunes. You can then add custom playlists and drag iPad compatible videos to your iTunes playlist to load on your iPad. Your video Playlists will be available on your iPad in its iPod app or all of your videos in its Videos app (which calls them Movies). By building Playlists in iTunes, you can organize your iPad videos as you'd like.
So I've made 4 iPad Compressor Droplets available for download. You can further customize these Droplets to your specs as described above. Of course higher quality (higher Mbps) = larger file size.
The Droplets are zipped as ipad_droplets.zip. Just download this zip file and double click it to unzip it.
You'll then have 4 Droplet files:
If your source video is interlaced and you want it to be progressive for the iPad:
1) H.264 for iPad 3Mbps (interlaced to progressive)
2) H.264 for iPad 1.5Mbps (interlaced to progressive)
If your source video is progressive (or interlaced and you prefer to use the Automatic setting for Frame Controls):
3) H.264 for iPad 3Mbps Native
4) H.264 for iPad 1.5Mbps Native
Enjoy encoding HD video optimized for your iPad. It's an amazing device.

Richard Taylor is a Level 2 Apple Certified Trainer for Final Cut Pro 5, 6, & 7. He is also a Video Editor/Producer at the National Archives in Washington, DC. He does Final Cut Pro training and consulting in the Baltimore-Washington area. You can contact him at Richard@FCPro.TV
[Top]
copyright © Richard Taylor 2010
are either registered trademarks or trademarks of Apple. Other company and product names may be trademarks of their respective owners.
All screen captures, images, and textual references are the property and trademark of their creators/owners/publishers.