

January 17, 2011
Adobe Photoshop's Lightroom 3
www.adobe.com
MSRP $299 or $99.00 for an upgrade from a previous version.
Review by Steve Douglas
Lightroom has been around for a number of years. In this 3rd incarnation there have been several improvements and added features. Not every photographer needs the massive depth and complexity of Photoshop CS5 and Lightroom 3 is capable of bringing out the best in your photographic images using Lightroom's intuitive interface and enhancements. As with Adobe's CS5, Lightroom 3 is now also a 64 bit application saving you time with its significantly increased speed and performance.
Lightroom 3 permits photographers to work very quickly when organizing batches of images, adjusting and outputting them. The adjustment parameters under the 'Develop' window are lined up on the right of the interface and are inclusive of the numerous tools whether they be white balancing, cropping, cloning, tonal adjustments or gradient filter options. The supplied and saved custom presets appear on the left.
While Lightroom 3 works best when editing raw images, it also can be used to organize, sort and manipulate JPEG and Tiff files, though there would be a more limited range of setting adjustments.
The Lightroom 3 interface remains primarily the same but with several new features built in.
Lightroom 3 really can accomplish just about everything you might need to do when working on your photos. Full control over exposure, contrast and color levels are there and are intuitive to use providing you with all the precision tools you need. This includes support for most DSLRs permitting you to organize both still images as well as video files.
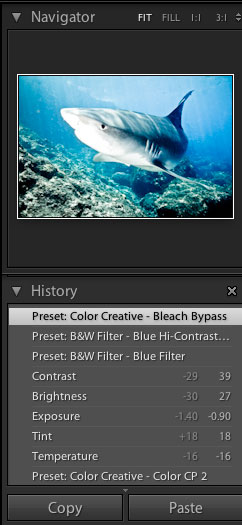
You can save any of the looks you create as presets as well as use the many presets that Lightroom 3 already provides. I found that often starting off with one of the supplied presets was a great way to begin and then to adjust any of the parameters from there helped considerably.
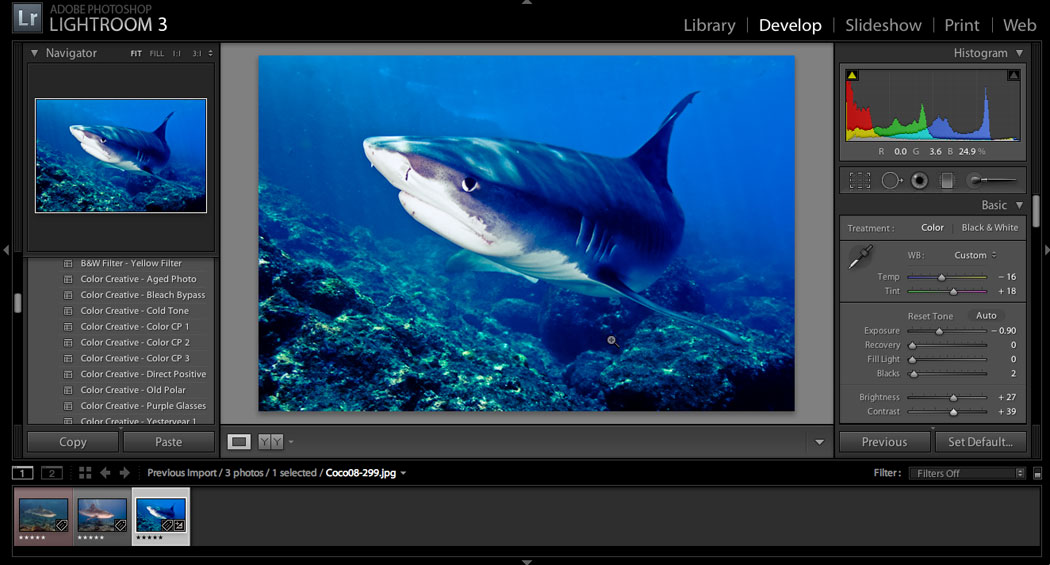
Utilizing the blue filter preset, I then adjusted several settings to create a whole new image.
Lightroom 3 is completely nondestructive to your original photos. Any alterations can be saved enabling you to create multiple versions of your original without losing the original photograph's appearance. Should you want to apply the same processing to multiple images at one time you can apply the same 'Develop' settings to all the photos within a group using either the presets or the sync feature.
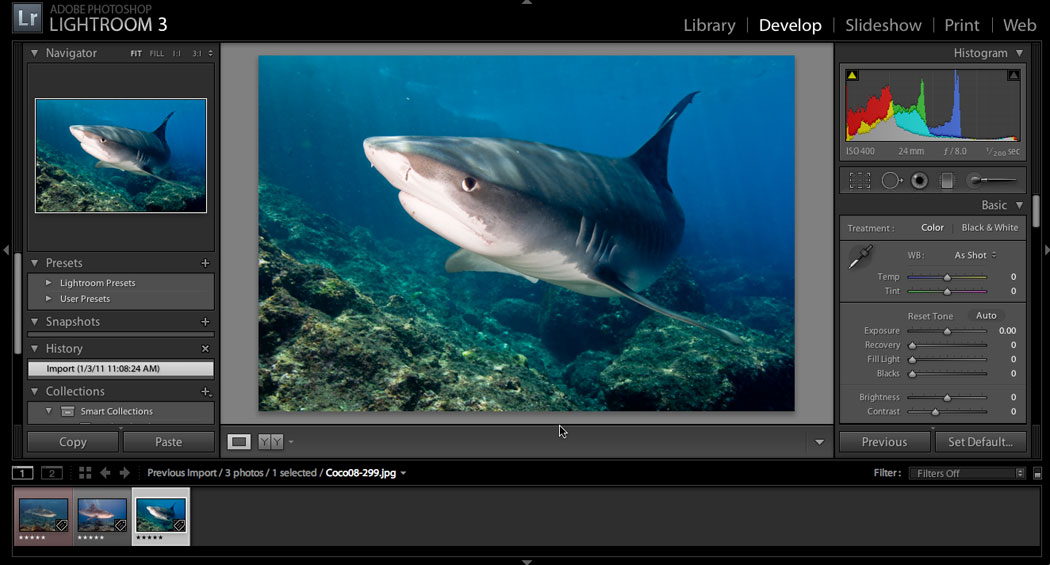
An original photo
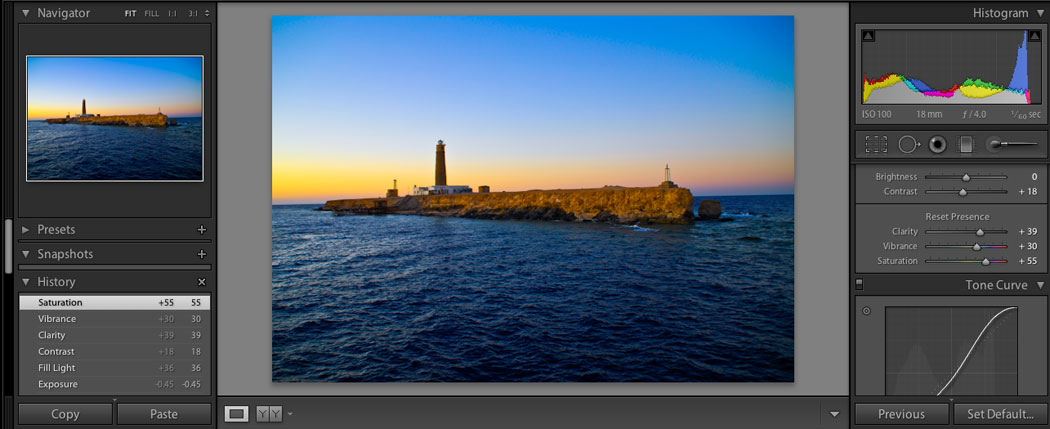
The easy to use Tonal Curve window with some adjustment to the saturation and vibrance controls provides a sunrise most would envy.
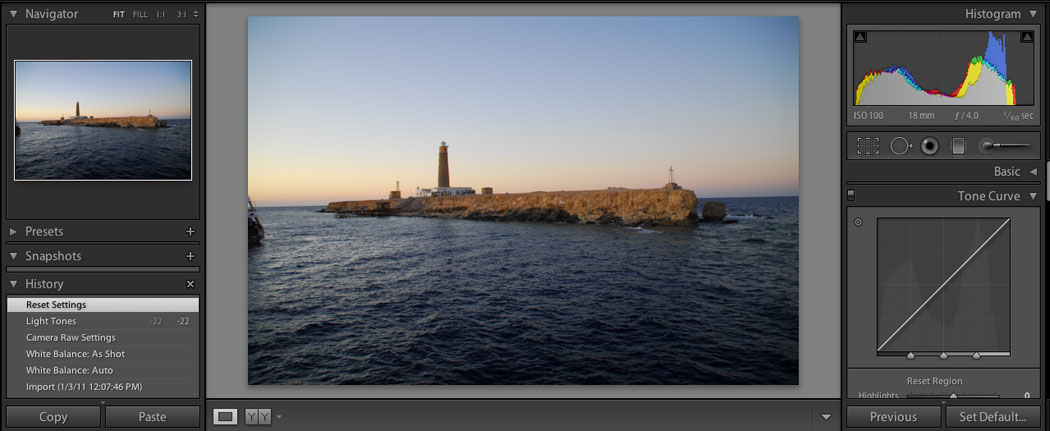
The 'History' panel enables you to go back to previous versions or settings at any time, so if you don't like one alteration, it is a quick fix to go back to where you began reversing your steps one at a time or by big leaps.
Clicking on any of the steps within your History section will bring you safely back to that previous step.
With Lightroom 's new Lens Correction you use the dropdown menu to automatically reduce lens defects such as geometric distortion, vignetting and chromatic aberrations.
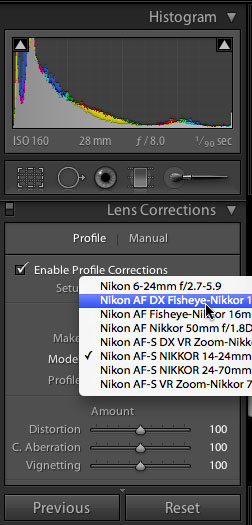
Some of the lens choices provided for the new Lens Correction feature.
An exciting new feature in Lightroom 3 is tethering, which permits the software to control a camera and import the photos directly as they are taken. Tethered shooting is primarily for those who may be shooting in a studio and want to see the results instantly. Tethering is accomplished by attaching your camera to your Mac or PC by the camera's own USB cable. No third party software is needed. Go to Lightroom's File Menu and scroll down to 'Start Tethered Capture'. A new window comes up providing the metadata for the camera and settings you are using as well as the opportunity for any of the Lightroom presets to be applied before you ever take your picture.

The button on the far right is actually a shutter button enabling you to set up your camera in the tripod and shoot from within Lightroom.
Snap your picture and the image comes up immediately in the Lightroom window as a large image. No more thumbnails to scroll through and squint at.
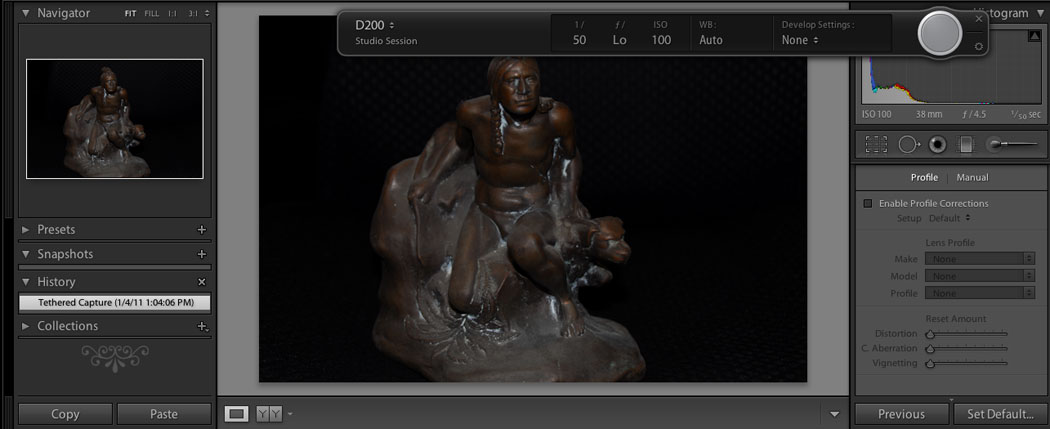
The image comes in full size with the thumbnails in the scroll bar at the bottom.
This new feature can be a great time saver in the studio, saving you from the drudgery of taking and scanning through more shots than were needed to be taken.
Right now only some Canon and Nikon cameras currently are supported; and it doesn't work with video. However, support for more cameras is on the horizon according to Adobe.
Also handy for pros sharing images with clients, Lightroom can export slideshows as a video. This includes automatically timing the duration of each shot to fit a soundtrack's length.
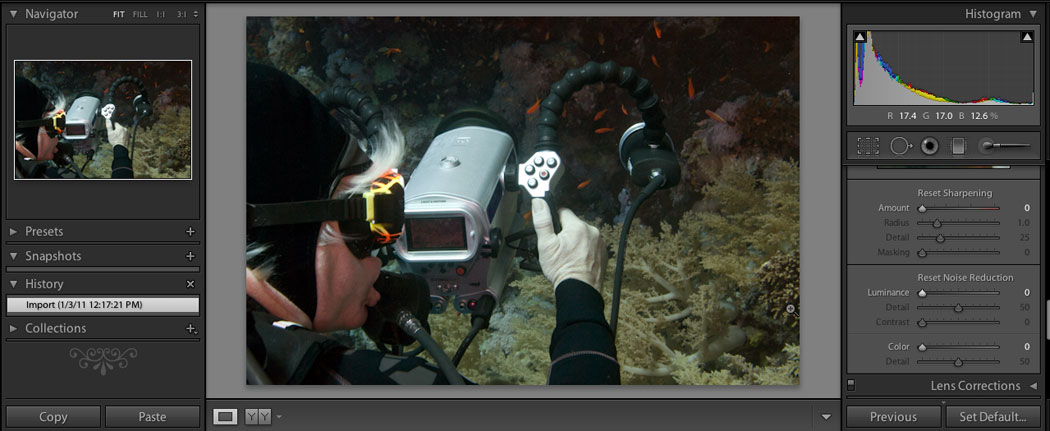
New in Lightroom 3 is their greatly improved Noise Reduction parameters created with high ISO imaging. I was fairly surprised by how easy it was to clean up grain in the dark areas of several photos.
The original photo prior to correction. Notice the graininess in the darker areas.
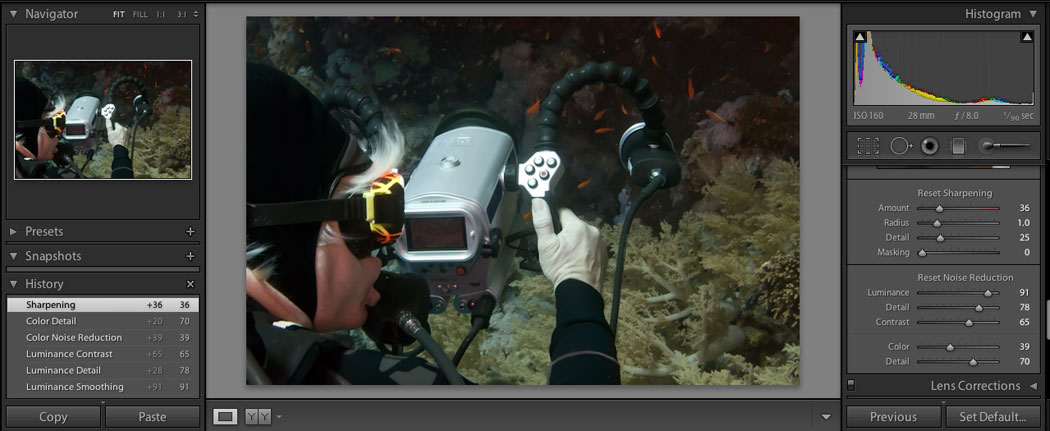
Adjusting the Noise Reduction sliders and sharpening the image makes for a cleaner photograph.
Lightroom 3 does a better job than its predecessor at cutting noise and sharpening edges. Many people never venture beyond standard settings, but for those photographers who are enamored of getting the cleanest details in their photos Lightroom 3 will not disappoint.
The noise reduction brings forth a new dimension of the growing sophistication of digital photography. For this reason, shooting raw images can mean your camera in effect can get better over time.
While fully integrated for additional Adobe Photoshop alterations, most of what may need be done can be accomplished in Lightroom 3. I did not find any instability when using Lightroom, had no crashes and found no bugs. While newer versions of software usually improve upon the previous versions, Lightroom 3 appears to just about do it all.
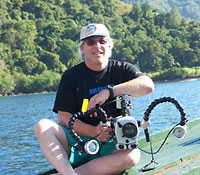
Steve Douglas is a certified Apple Pro for Final Cut Pro 7 and underwater videographer. A winner of the 1999 Pacific Coast Underwater Film Competition, 2003 IVIE competition, 2004 Los Angeles Underwater Photographic competition, and the prestigious 2005 International Beneath the Sea Film Competition, where he also won the Stan Waterman Award for Excellence in Underwater Videography and 'Diver of the Year', Steve was a safety diver on the feature film "The Deep Blue Sea", contributed footage to the Seaworld Park's Atlantis production, and productions for National Geographic and the History channels. Steve was a feature writer for Asian Diver Magazine and is one of the founding organizers of the San Diego UnderSea Film Exhibition. He is available for both private and group seminars for Final Cut Pro and leads underwater filming expeditions and African safaris with upcoming excursions to the Cocos Islands, Costa Rica, Lembeh Straits, Indonesia, and Wakatobi. Feel free to contact him if you are interested in joining Steve on any of these exciting trips. www.worldfilmsandtravel.com
[Top]
copyright © Steve Douglas 2011
© 2000 -2011 Ken Stone. All rights reserved. Apple, the Apple logo, Final
Cut Pro, Macintosh and Power Mac
are either registered trademarks or trademarks of Apple. Other
company and product names may be trademarks of their respective
owners.
All screen captures, images, and textual references are the property and trademark of their creators/owners/publishers.


