
Review - Motion Tutorial 
February 14 , 2005
Ripple Motion Tutorial 5 and 6
Review - Motion Tutorial February 14 , 2005
Ripple Motion Tutorial 5 and 6
Fun with B-Splines
Review By Steve Douglas
Steve Martin and Ripple Training now bring forth two more additional tutoring sessions for the ever-expanding number of editors using Apple's Motion.
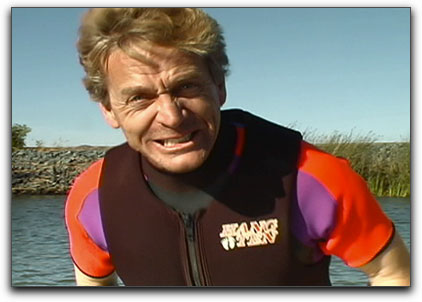
Motion tutorial #5 focuses on the application of the b-splines masking tool with a running time of 12 minutes and a download of a touch over 24 MB. Steve supplies all the necessary media to work on the intended project and all worked well. The tutorial is presented in the Quicktime format and thus the window to work within is easily sized and resized to fit any screen territory you might want. Steve takes you through the natural sequence using the supplied media that shows you the many, and sometimes complicated concepts and steps of using the b-spline tool in a practical and pragmatic manner. Briefly, first you prepare your clip in Final Cut Pro to export it as a Motion Project.

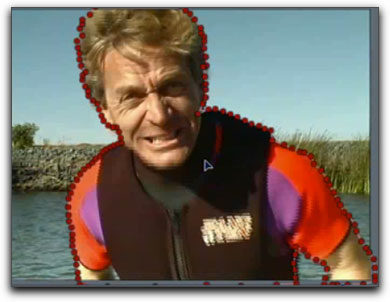
The b-spline tool is used to create the mask.
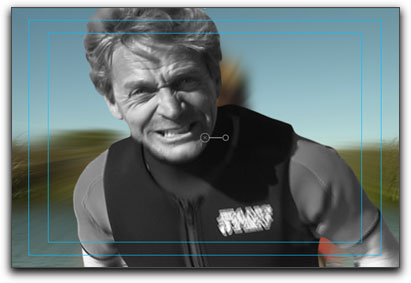
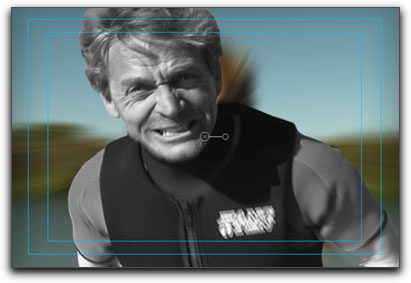
Finally, after doing a slip edit for this project we jazz it up by adding the desaturation and grow/shrink behaviors.
One minor problem did come up. I could not understand why the B-spline edit point markers were not apparent once I attempted to isolate the mask. Apparently, since the revisions, the Motion team changed the default action of the b-spline bahavior when you drop it on an object. If you simply control-click inside the b-spline you will get a menu where you may choose 'edit points' and viola. While this used to be the default it is now a manual option. Doesn't make sense to me to have made this change.
These are both the chapters and steps used to bring the editor along on the road to mastery of this aspect of Motion. As you can see, each step is scaffolded to build upon each other.
Motion Tutorial #6 with its running time of 15 minutes and a download size of 23.5 MB, focuses on learning how to adjust object priority and timing in motion to create a composite that appears as if it were created in a Z space or 3D environment.
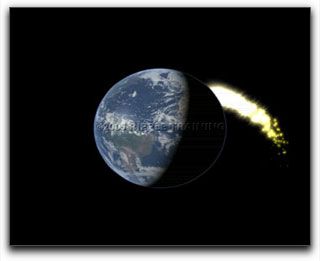
This tutorial was actually fun to play with. Steve uses a spinning globe, commonly found in many animation discs and shows us how to bring a fiery comet to encircle the globe as if in full orbit, passing in front, disappearing behind it and bringing it back around to the front. Adjusting the layers to enable these effects is a bit more complicated than it, at first, appears but Steve Martin really does make it easy to follow the sequential steps bringing one to the completion of the finished project.
Without giving too much away, first we must create a motion path for our globe and comet.
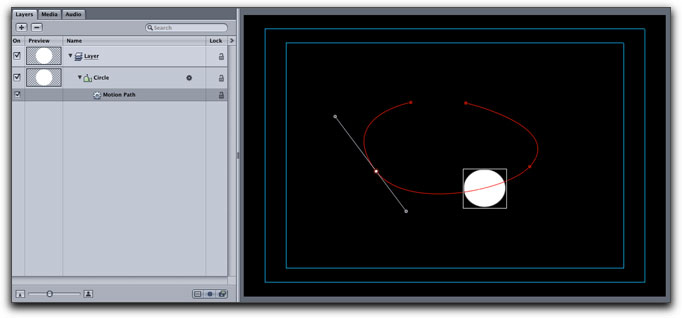
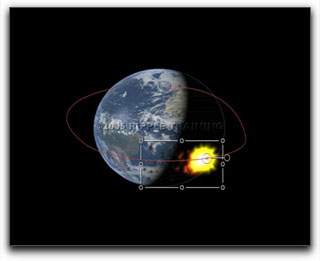
Then, through an interesting layer manipulation and final tweaking we create the finished project.... almost
We still have comet color to play with, Steve's favorite was 'Rainbow' but I liked 'burnt amber'
From the list of chapter titles it is not hard to see that Steve Martin has not left any stones uncovered as both tutorials are completely comprehensive.
The bottom line question should be, how practical are these tutorials in their application of real world editing necessities? The answer is an easy "VERY". No, you may not necessarily need to have comets spinning around the Earth but it is easy enough to imagine a spinning color gradient encircling a car for a commercial, leaves around a tree, or sharks around a swimmer. All scenarios would require control of the particle emission and changing of the layer priority in order to affect that 3D appearance. The skills are the same and the steps are the same. This is applicable to both tutorials. Creating masks using the b-spline tool is a common and frequent requirement. Steve shows us how to do that and much more. We just need to apply our imagination to our new skills and insights and the world is ours.
Perhaps I grow redundant in my praise for Steve Martin's many tutorials but another bottom line is, you can't argue with quality. And I won't.
Steve Douglas is an underwater videographer and contributor to numerous film festivals around the world. A winner of the 1999 Pacific Coast Underwater Film Competition, 2003 IVIE competition, 2004 Los Angeles Underwater Photographic competition, and the prestigious 2004 International Beneath the Sea Film Competition, Steve has also worked on the feature film "The Deep Blue Sea", recently contributed footage to the Seaworld parks for their new Atlantis production, and is one of the principal organizers of the San Diego UnderSea Film Exhibition. Steve leads both African safari and underwater filming expeditions with upcoming filming excursions to Kenya , Bali and the Red Sea. Feel free to contact him if you are interested in joining him on any of these trips. www.worldfilmsandtravel.com
© 2000 -2005 Apple
Computer, Inc. All rights reserved. Apple, the Apple logo, Final
Cut Pro, Macintosh and Power Mac
are either registered trademarks or trademarks of Apple. Other
company and product names may be trademarks of their respective
owners.
All screen captures, images, and textual references are the property and trademark of their creators/owners/publishers.