
January 28, 2013
For FCP X
Ripple Tools - $29.00
By Ken Stone
As of this writing, FCP X now stands at version number 10.0.7, gaining many new features and abilities since it was first released. What has also matured are the FCP X plugins from Ripple Training. Not only do they offer much needed effects like an 8 and 16 point (garbage) matte, missing from the stock FCP X effects, but the way that we use them and the way that we learn how to use them has evolved as well.
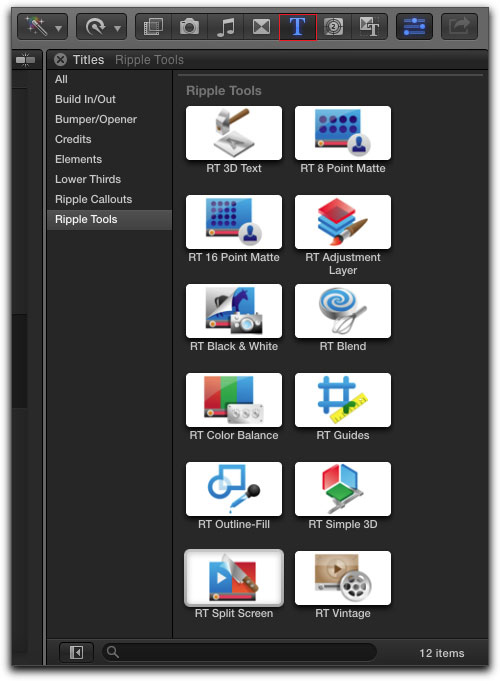
The latest offering from Ripple Training is "Ripple Tools" authored by Mark Spencer. Ripple Tools contains 12 plugins and is available through FX Factory which has become a repository for plugins from a large number of third party developers written for FCP, Motion, Premiere Pro and After Effects.
When installed, Ripple Tools are available in the Titles Browser. While some of these plugins may appear to be filters, they are actually title effects and as such, when applied to a clip, are added as Connected Clips.
As you know, plugins can be rather complex and figuring out how to get started and use them can often be difficult. Searching the web does not often produce usable results. Ripple Training's Ripple Tools now addresses this problem by providing instructions and tutorials right from inside the plugin.
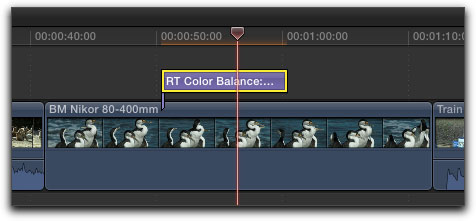
Select the clip in the timeline that you want the effect applied to and then select the Ripple Tool that you want to add, by either double clicking on the effect, dragging the effect onto the clip or hitting the 'Q' key from the keyboard to connect to Primary Storyline.
With the playhead parked on the effect, the Viewer window displays two buttons at the bottom, Watch Tutorial and Help. The Help button takes you to a Help page at the Ripple Training web site.
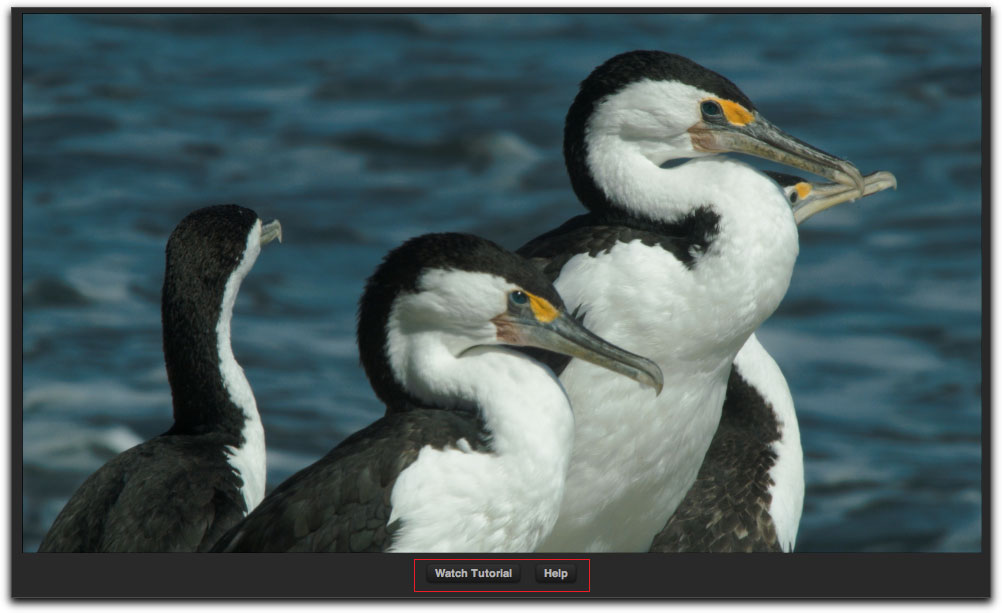
When you click on the Tutorial button, Safari launches and you are taken to a YouTube video tutorial for that particular plugin, presented by Mark Spencer.
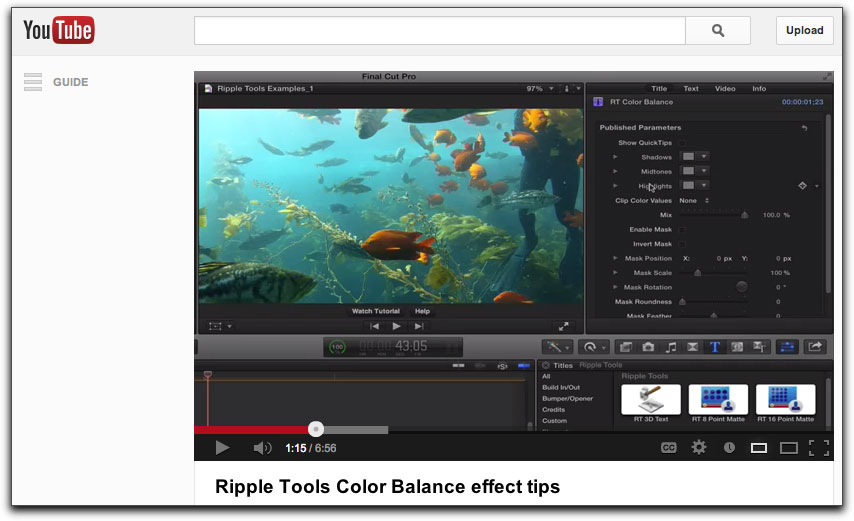
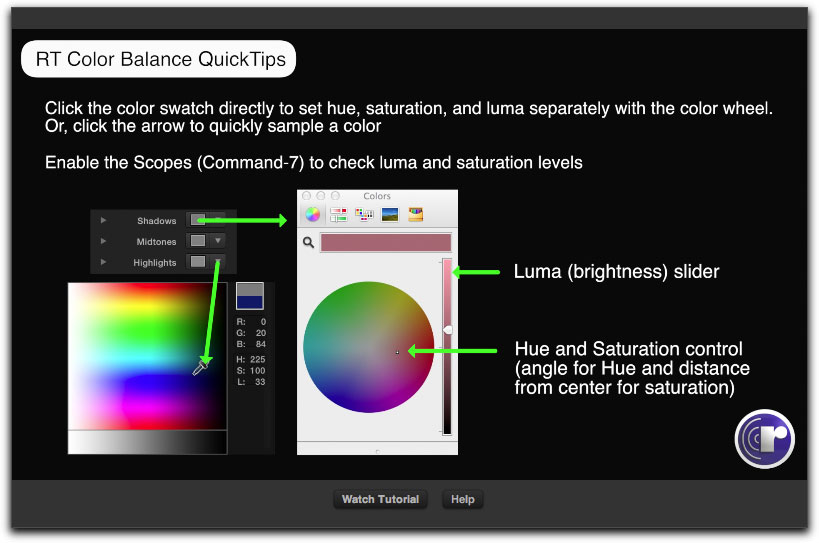
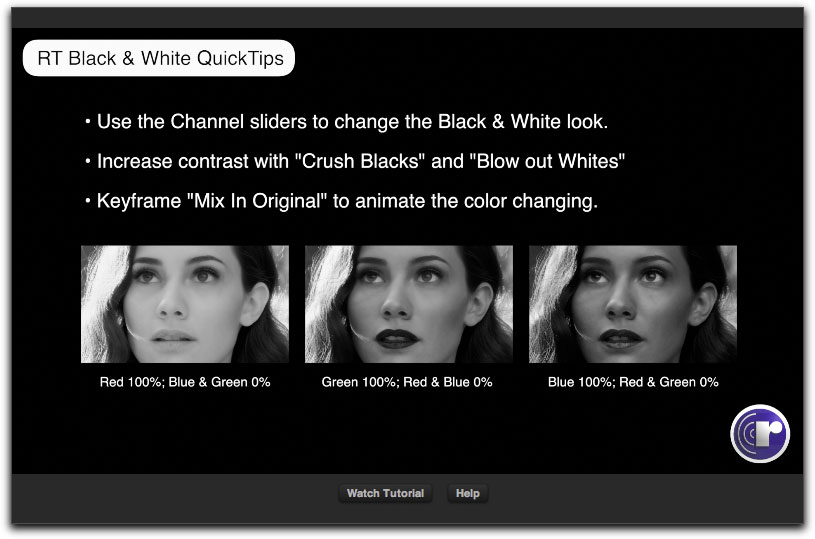
I would suggest that you watch the YouTube tutorial before you start to work with each plugin for the first time. There is another tutorial built into each effect. In the Inspector at the top of the effect controls is a "Show QuickTips" box. When you check this box, QuickTips display in the Viewer window with basic user instructions, like a mini refresher course.
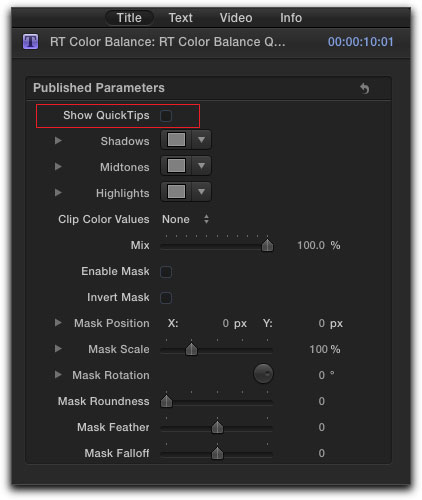
With the "Show QuickTips box checked, basic instructions are displayed in the Viewer window, uncheck the box to return the Viewer to displaying your video.
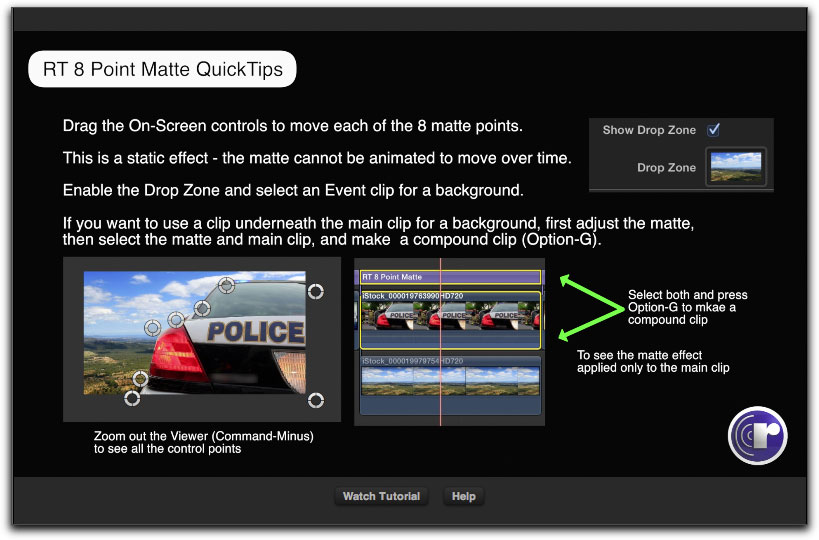
The RT 8 Point Matte QuickTips below.
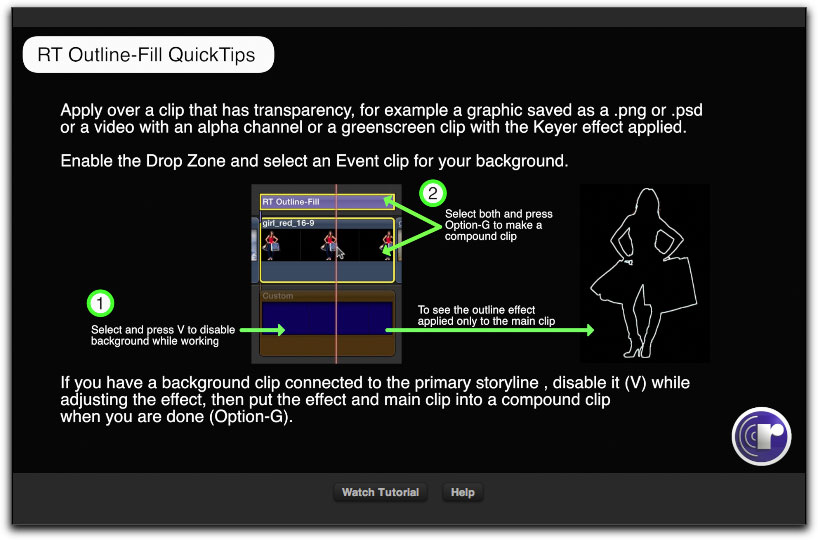
The RT Outline-Fill QuickTips below.
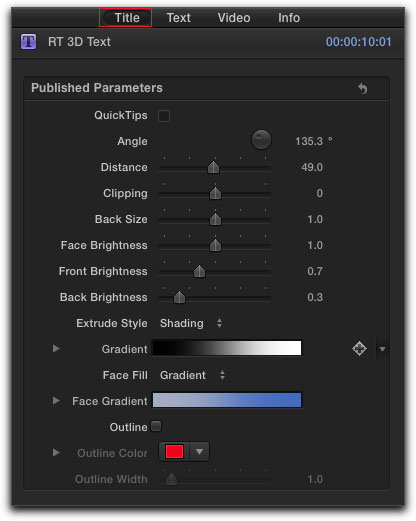
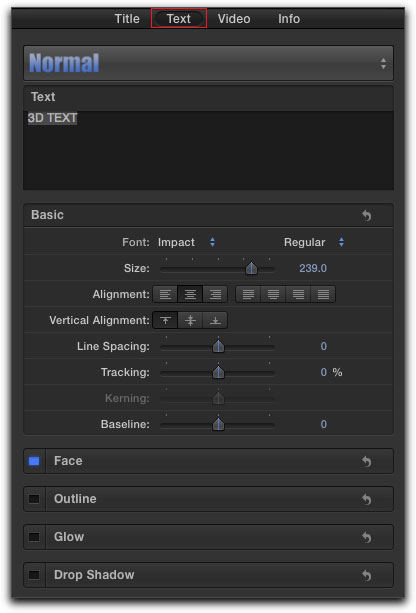
It is often said that we buy a package of plugins for just a few plugins in the package that we need. So the value of an effects plugin package must be based on the actual number of plugins that you actually use. For me the Ripple Tools package offers real value, with the 8 and 16 point (garbage) matte, missing from the stock FCP X effects, being indispensable. When you need garbage matte, nothing else will do. Likewise, the stock FCP X Text effects lack a truly workable 3D Text plugin, one that you can really manipulate. The 3D text plugin from Ripple offers complete flexibility. The Title tab, shown below left, offers all of the 3D controls for sculpting the look of your 3D text. All of the 3D parameters are keyframable to create animated effects. The Text tab, below right, provides all the standard text parameters including access to the numerous fonts that come with FCP X.
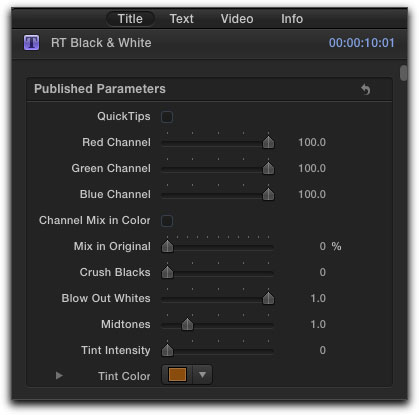
Another important plugin is 'Black & White'. In the past, if you wanted to convert a color video clip or a color photo to B&W, you needed to use the Color Corrector to completely desaturate the color to produce a B&W. While this worked, it is a 'one trick pony', lacking any type of control over the process. With the Ripple B&W effect, you can adjust the color channels, add a tint color, work the contrast (crush the blacks) and even add back color from the source clip.
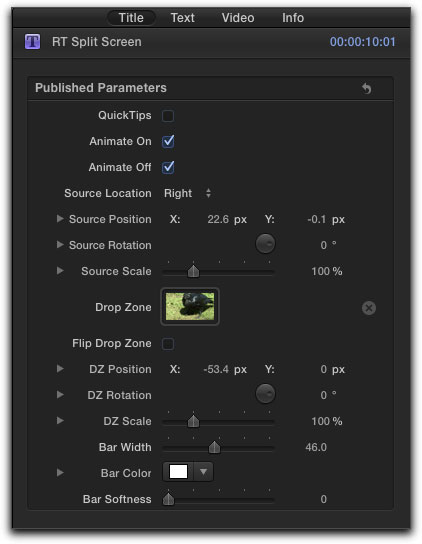
Another important and powerful Ripple effect is the Split Screen plugin. True, you can create a split screen effect in the Viewer window using the Transform function, but this process can be laborious and often difficult to tweak. With the Ripple Split Screen effect you can control the Scale, Rotation and Position of each of the video clips. You can also set the split to be top, botom, left or right, and change the size and color and softness of the split bar. All of these adjustments are easy to do, right from inside the Inspector. If you want additional screen splits like three, four or more, simply add the Split Screen effect again.

Okay, I think you get the idea. The 12 effects in the Ripple Tools package are listed below. The fact that each plugin has built in video tutorials and QuickTips means that you are going to be able to work with and achieve your desired results even if it's the first time you have used them.
- 3D Text
- Blend Modes
- Outline Fill
- Split screens
- 8 point matte
- 16 point matte
- Adjustment layers to control the look of multiple clips simultaneously
- Color balance using traditional color wheels
- Vintage Looks
- Black and white effects
- Simple 3D effects
- Align text and graphics with incredibly useful guides and rulers
Sometimes we need special effects plugins and other times we need tools to help us craft our video and this is exactly what this package does; gives us tools to work with in FCP X. These plugins work extremely well and help fulfill a real need. Many of them come with an 'Image Well' for adding video into the effect and with many of them, like mattes, guides, and split screen, etc. you can add multiple instances of the plugin to expand the effect.
There is a quick video introduction to the Ripple Tools package that you can view.
$29.00 for the Ripple Tools package is a very reasonable price to pay for a tool box that offers so many indispensable tools for FCP X.
Enjoy,
--ken
copyright © www.kenstone.net 2013
are either registered trademarks or trademarks of Apple. Other company and product names may be trademarks of their respective owners.
All screen captures, images, and textual references are the property and trademark of their creators/owners/publishers.